Mastering Python Decorators: A Comprehensive Guide

Welcome to our comprehensive guide on mastering Python decorators! Whether you're a seasoned Python developer or just starting your coding journey, understanding decorators is a key step toward writing more elegant and efficient code.

What are Decorators?

Decorators are a powerful feature in Python that allows you to modify the behavior of functions or methods. They provide a clean and concise way to enhance the functionality of your code without cluttering it with repetitive patterns.

Basics of Decorators

Let's start with the basics. In Python, decorators are denoted by the @decorator syntax. Consider the following example: 

   
    def my_decorator(func):
        def wrapper():
            print("Something is happening before the function is called.")
            func()
            print("Something is happening after the function is called.")
        return wrapper

    @my_decorator
    def say_hello():
        print("Hello!")

    say_hello()

In this example, my_decorator is a simple decorator that adds behavior before and after the say_hello function is called. The @my_decorator syntax is a convenient way to apply the decorator to the say_hello function.

Built-in Decorators

Python comes with several built-in decorators. For instance, the @staticmethod and @classmethod decorators are commonly used:


    class MyClass:
        @staticmethod
        def static_method():
            print("This is a static method.")

        @classmethod
        def class_method(cls):
            print(f"This is a class method of {cls}.")

    MyClass.static_method()
    MyClass.class_method()

Here, @staticmethod is used for methods that don't require access to the instance or class, and @classmethod is used for methods that need access to the class.

Creating Your First Decorator

Let's dive into creating your own decorator. Suppose you want to time how long a function takes to execute:


    import time

    def timing_decorator(func):
        def wrapper():
            start_time = time.time()
            func()
            end_time = time.time()
            print(f"Execution time: {end_time - start_time} seconds.")
        return wrapper

    @timing_decorator
    def my_function():
        # Some time-consuming task
        time.sleep(2)
        print("Function executed.")

    my_function()

Now, my_function is decorated with timing_decorator, providing a simple way to measure its execution time.

Decorator Chaining and Parameterized Decorators

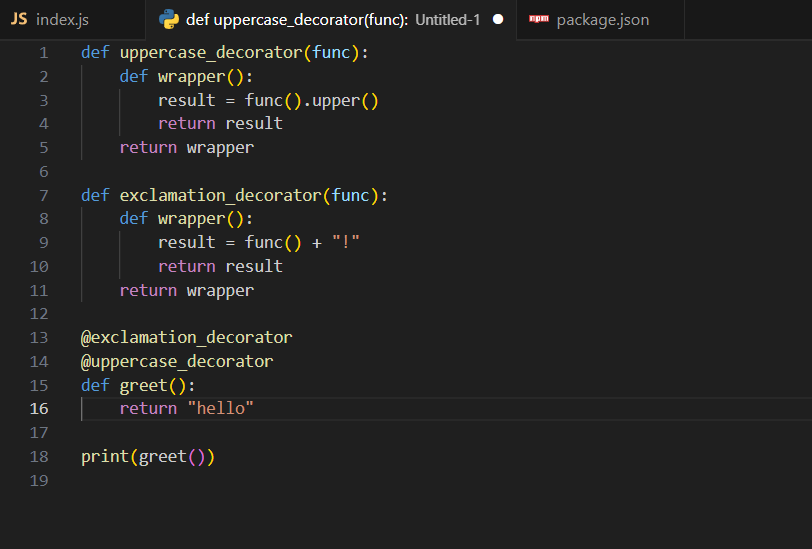
Decorators can be chained and even accept parameters. Consider this example:

   
    def uppercase_decorator(func):
        def wrapper():
            result = func().upper()
            return result
        return wrapper

    def exclamation_decorator(func):
        def wrapper():
            result = func() + "!"
            return result
        return wrapper

    @exclamation_decorator
    @uppercase_decorator
    def greet():
        return "hello"

    print(greet())

In this example, the greet function is first decorated with uppercase_decorator and then with exclamation_decorator. The order matters, and you can experiment with different combinations to achieve the desired behavior.

Advanced Techniques and Use Cases

Decorators can be used in various advanced scenarios, such as dynamic decorators and error handling within decorators. Explore these techniques to take your decorator skills to the next level.

Best Practices and Conclusion

As you delve into using decorators, remember to follow best practices, write clean code, and test your decorators thoroughly. By mastering Python decorators, you'll not only enhance the functionality of your code but also make it more readable and maintainable.

That wraps up our comprehensive guide on Python decorators. Experiment with different scenarios, and feel free to share your experiences in the comments below. Happy coding!


=============
Mastering Python Decorators: A Comprehensive Guide


Comments

Popular posts from this blog

How to perform CRUD operations using Node.js and MongoDB?

CRUD with Node.js and MongoDB To perform CRUD (Create, Read, Update, and Delete) operations using Node.js and MongoDB, we can follow these steps: 1. Install Node.js To install Node.js, visit https://nodejs.org/en/ . The node version used in this code is v16.15.0. 2. Install the MongoDB driver First, create a project directory. We will name our project "CrudApp" . Then, to install the MongoDB driver, use npm by running the following command: npm install mongodb For the database view, you can download MongoDB Compass, or MongoDB Atlas can also be used. 3. It's time to CODE          // Node.js has a built-in module called HTTP. This helps     // Node.js to send information using the     // Hyper Text Transfer Protocol (HTTP).     const http = require ( 'http' );     // url module provides utilities for URL resolution and parsing.     // We are using variable as nodeUrl because we have already   ...

Java Program to count number of employees working in a company (Completed With Garbage Collection)

    // Java Program to count number of employees working in a company (Completed With Garbage Collection)     class Employee {         private String name ;         private int age ;         private int ID ;         private static int nextId = 1 ;                         public Employee ( String name , int age ) {             this . name = name;             this . age = age;             this . ID = nextId ++ ;         }                 public void show ()         {             System . out . println ( " \n ID=" + ID +   " \n Name=" + name + " \n Age=" + age);         }   ...

How to copy one collection to another by adding a field in MongoDB?

Is there a way to copy one collection to another in MongoDB while adding a new field? Yes, it is possible to copy one collection to another in MongoDB by adding a field using the $addFields pipeline stage in the aggregation framework. Here is an example of how you can do it: Suppose we have two collections named source_collection and target_collection , and we want to copy data from source_collection to target_collection by adding a new field called new_field . Sample source_collection documents:     {         "_id" : 1 ,         "name" : "John" ,         "age" : 25     },     {         "_id" : 2 ,         "name" : "Jane" ,         "age" : 30     },     {         "_id" : 3 ,         "name" : "Bob" ,         "age" : 40     } We want to copy this co...